![](https://www.fallout76mods.com/wp-content/uploads/2021/08/Custom-Raider-Goon-Re-texture-and-Tank-Girl-Army-Helmet-1-150x150.jpg)
![](https://www.fallout76mods.com/wp-content/uploads/2021/08/Custom-Raider-Goon-Re-texture-and-Tank-Girl-Army-Helmet-2-150x150.jpg)
![](https://www.fallout76mods.com/wp-content/uploads/2021/08/Custom-Raider-Goon-Re-texture-and-Tank-Girl-Army-Helmet-3-150x150.jpg)
![](https://www.fallout76mods.com/wp-content/uploads/2021/08/Custom-Raider-Goon-Re-texture-and-Tank-Girl-Army-Helmet-4-150x150.jpg)
![](https://www.fallout76mods.com/wp-content/uploads/2021/08/Custom-Raider-Goon-Re-texture-and-Tank-Girl-Army-Helmet-5-150x150.jpg)
![](https://www.fallout76mods.com/wp-content/uploads/2021/08/Custom-Raider-Goon-Re-texture-and-Tank-Girl-Army-Helmet-6-150x150.jpg)
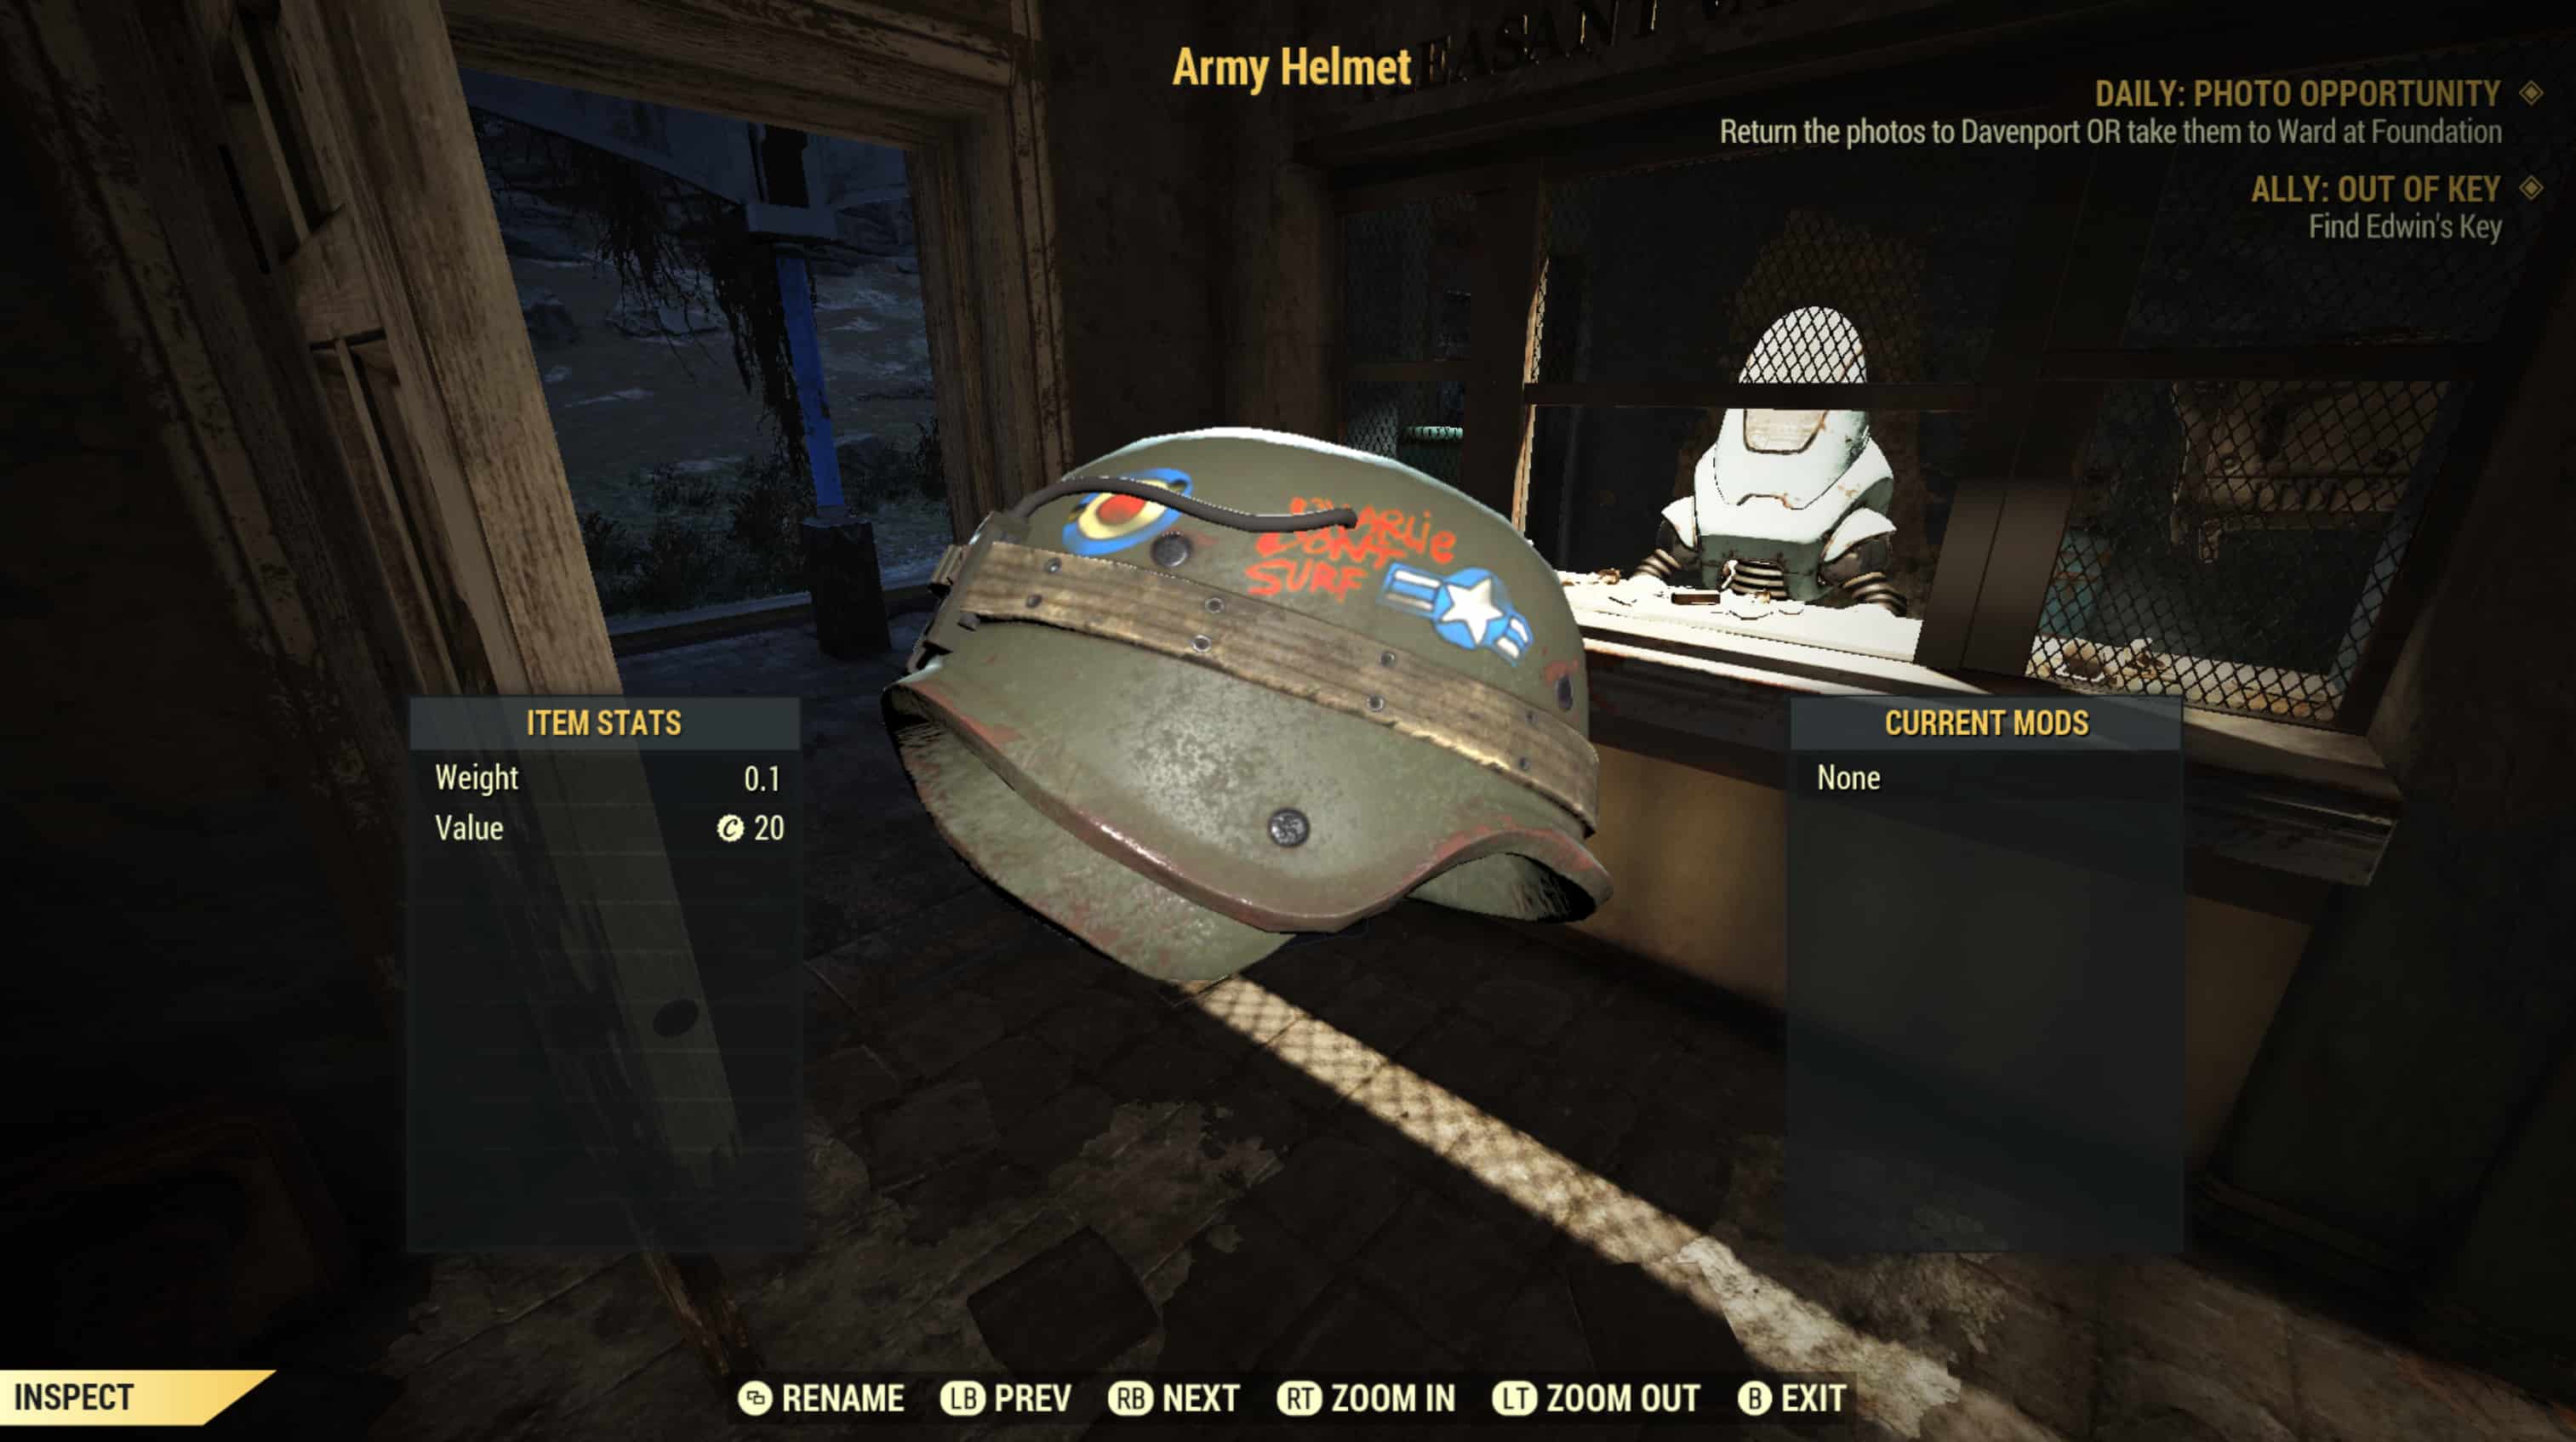
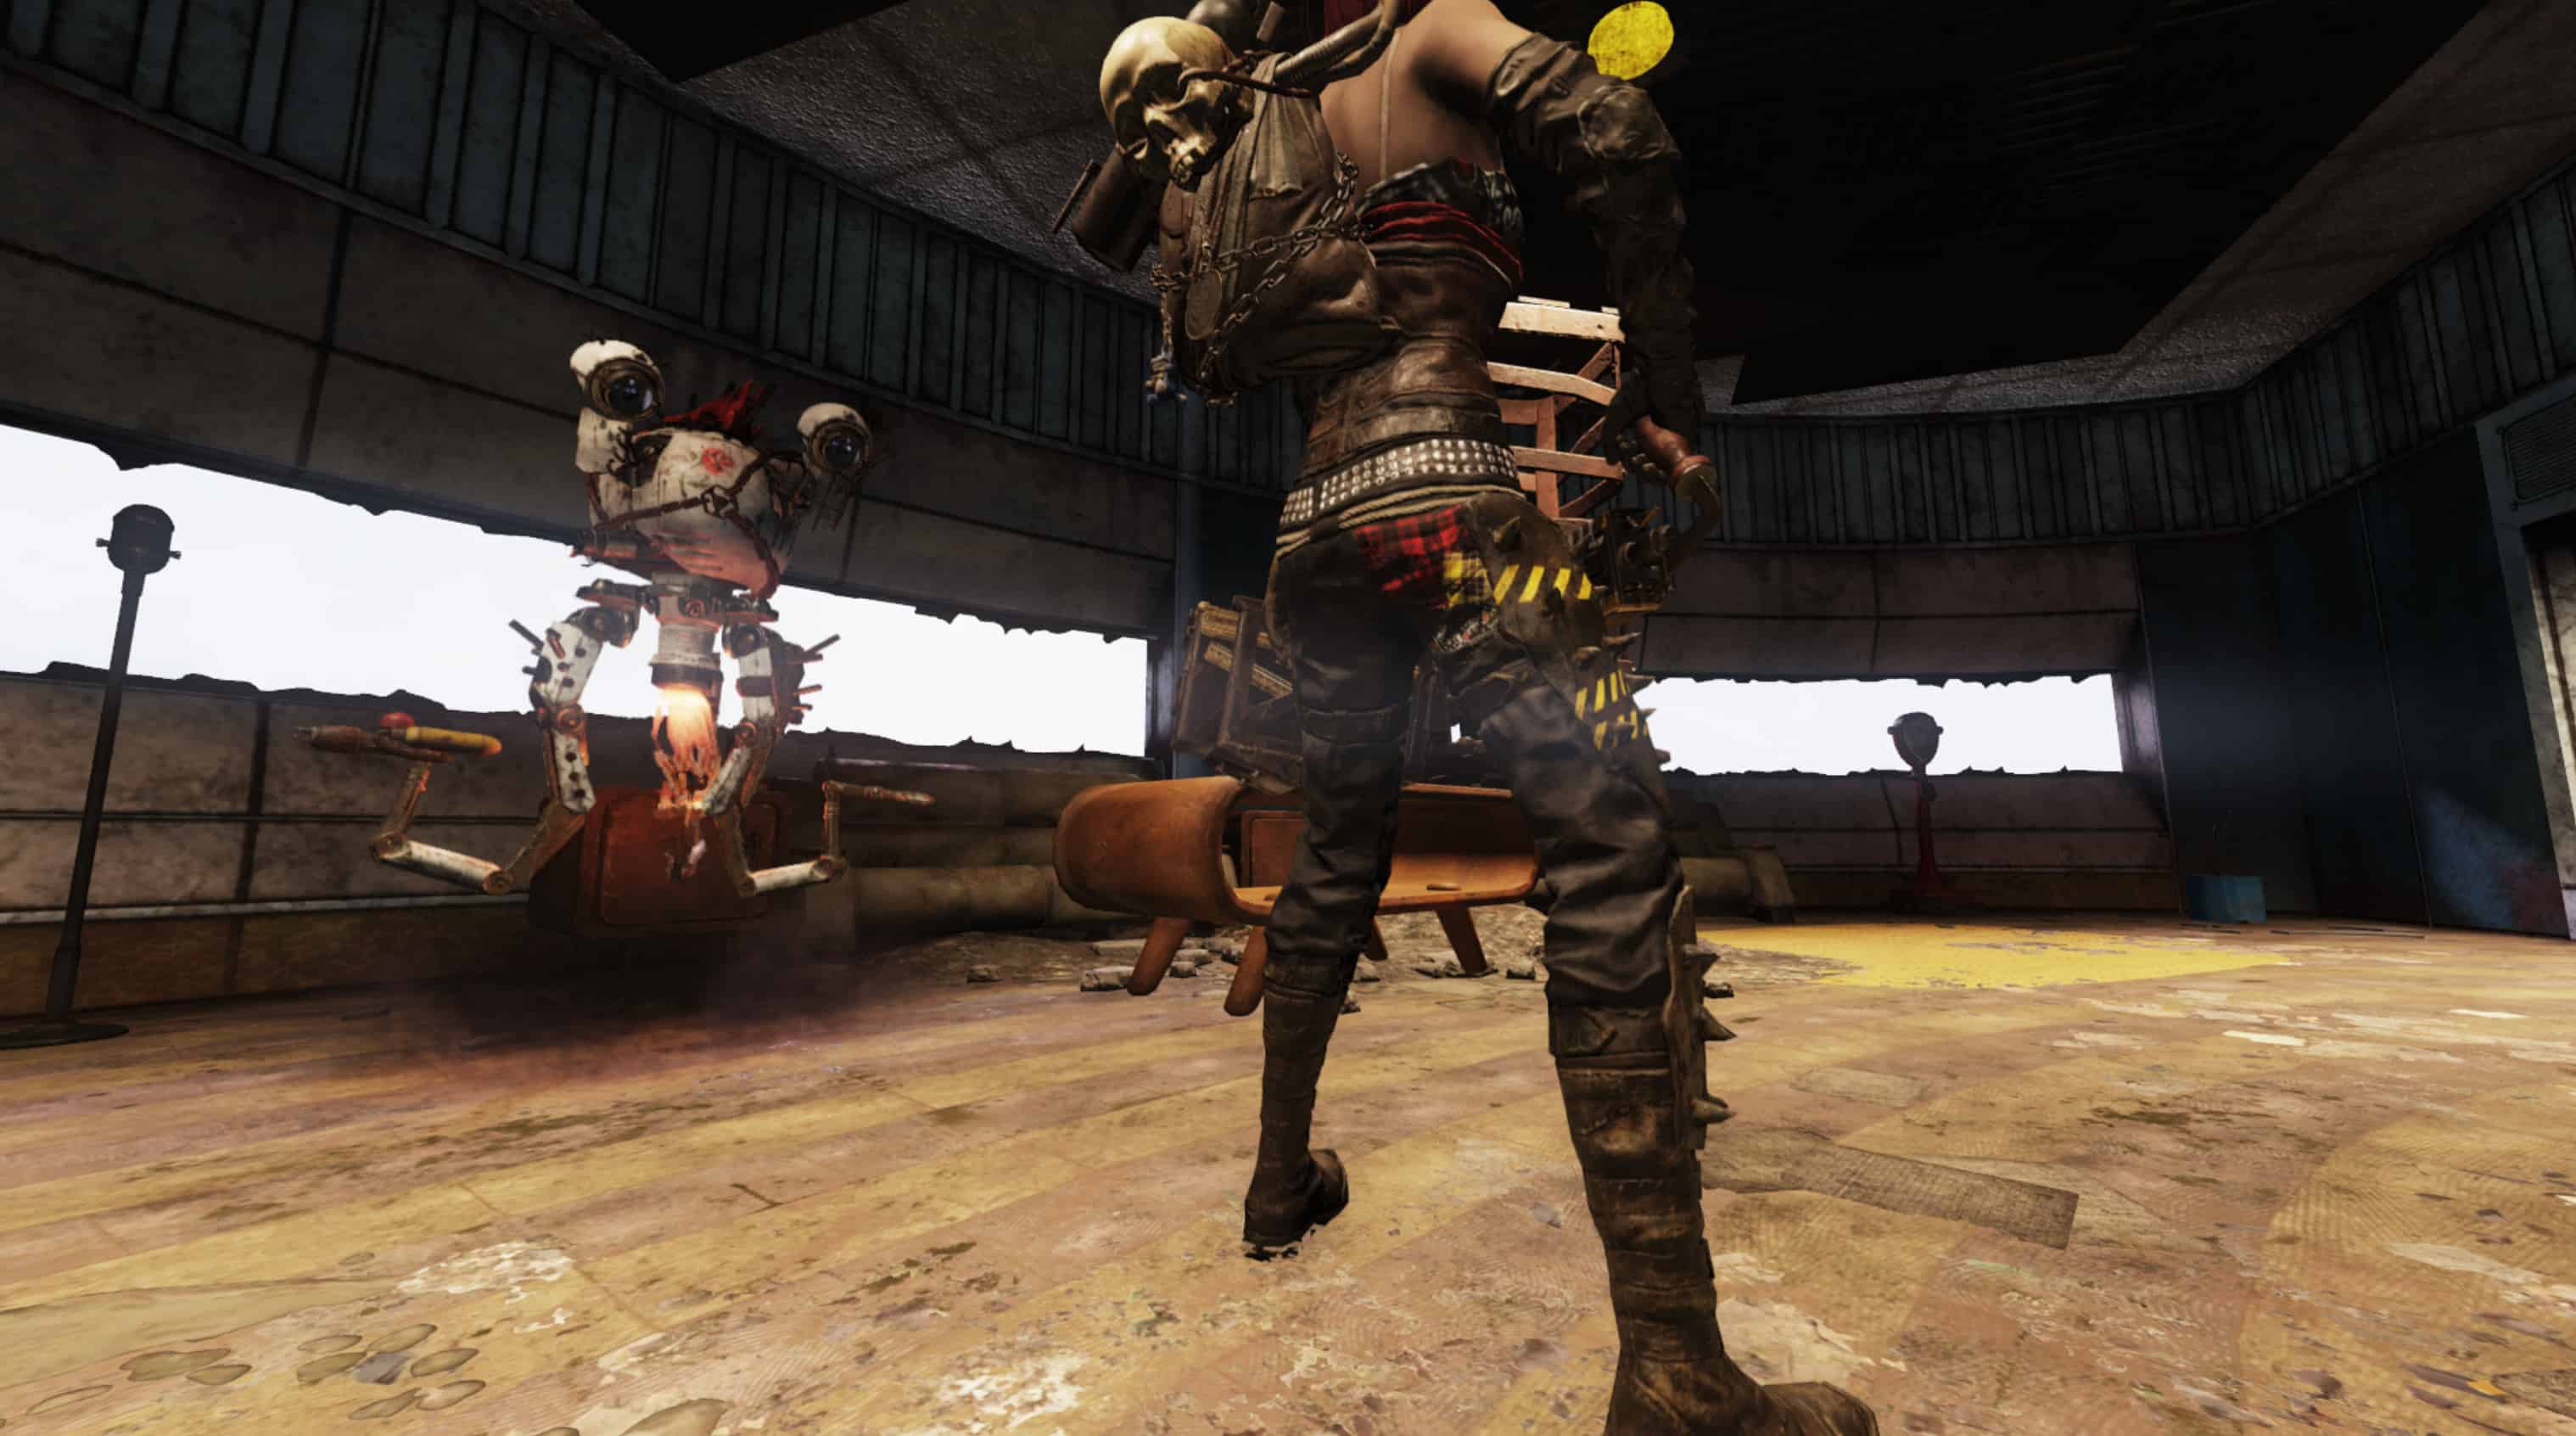
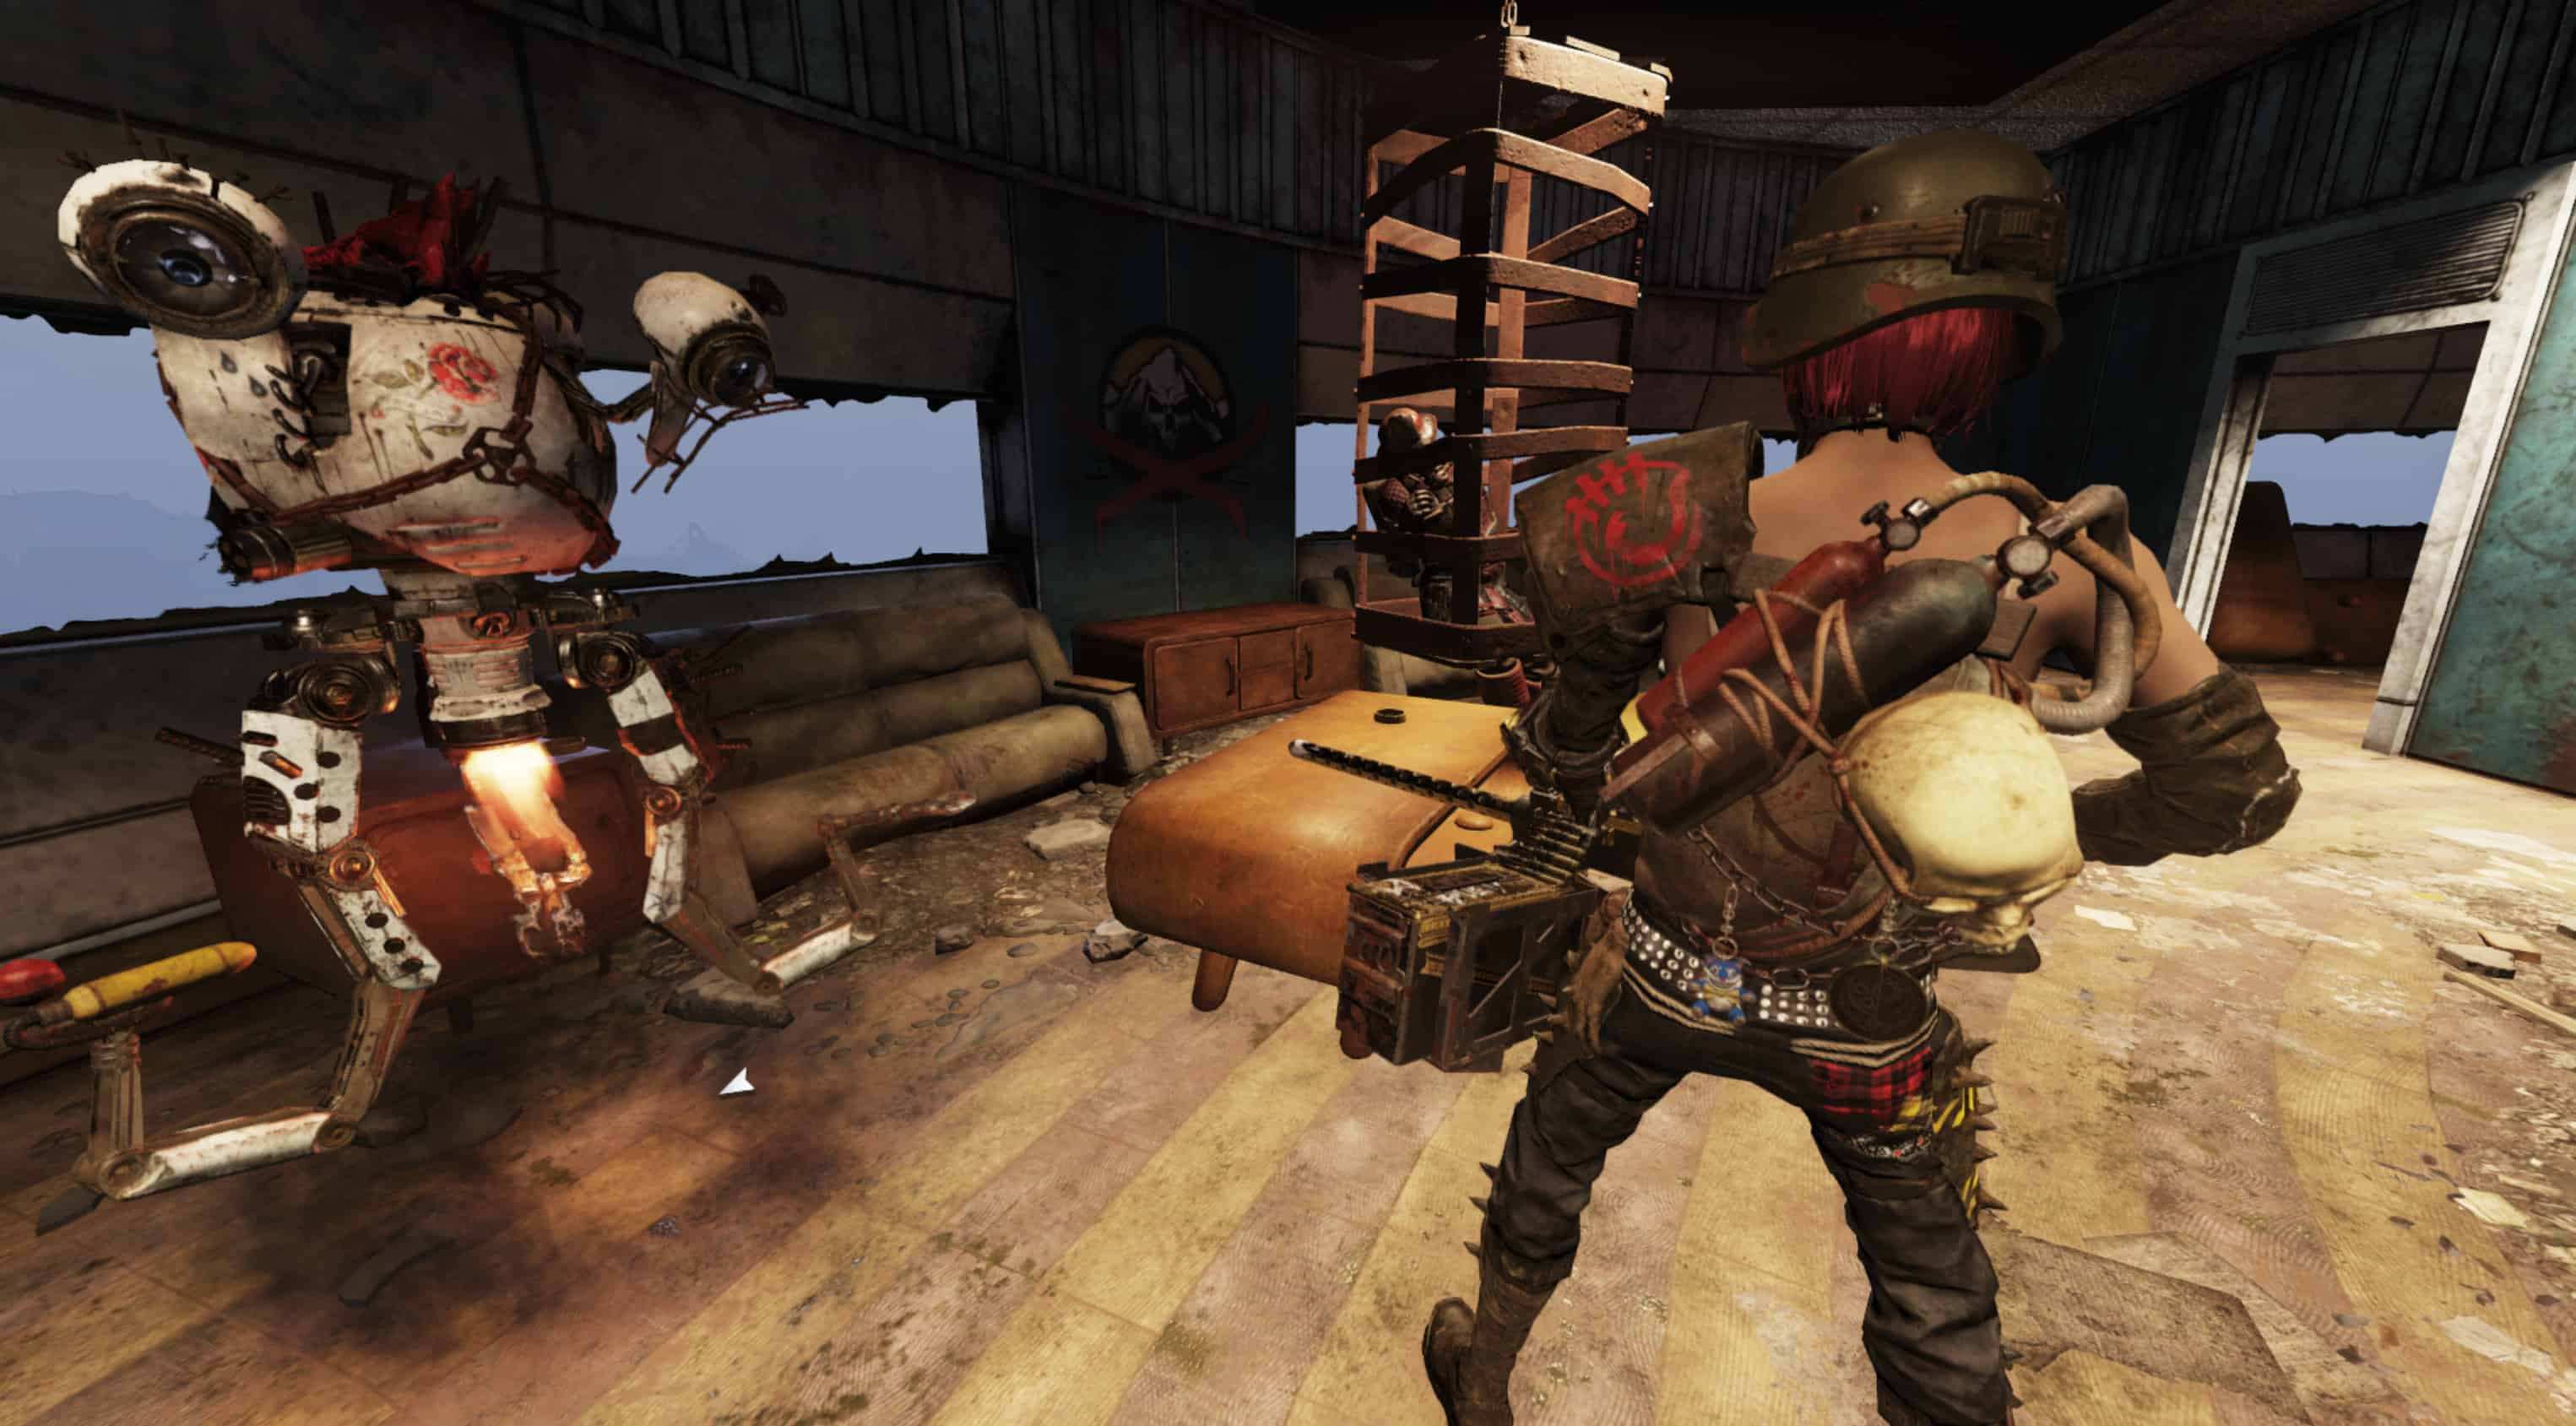
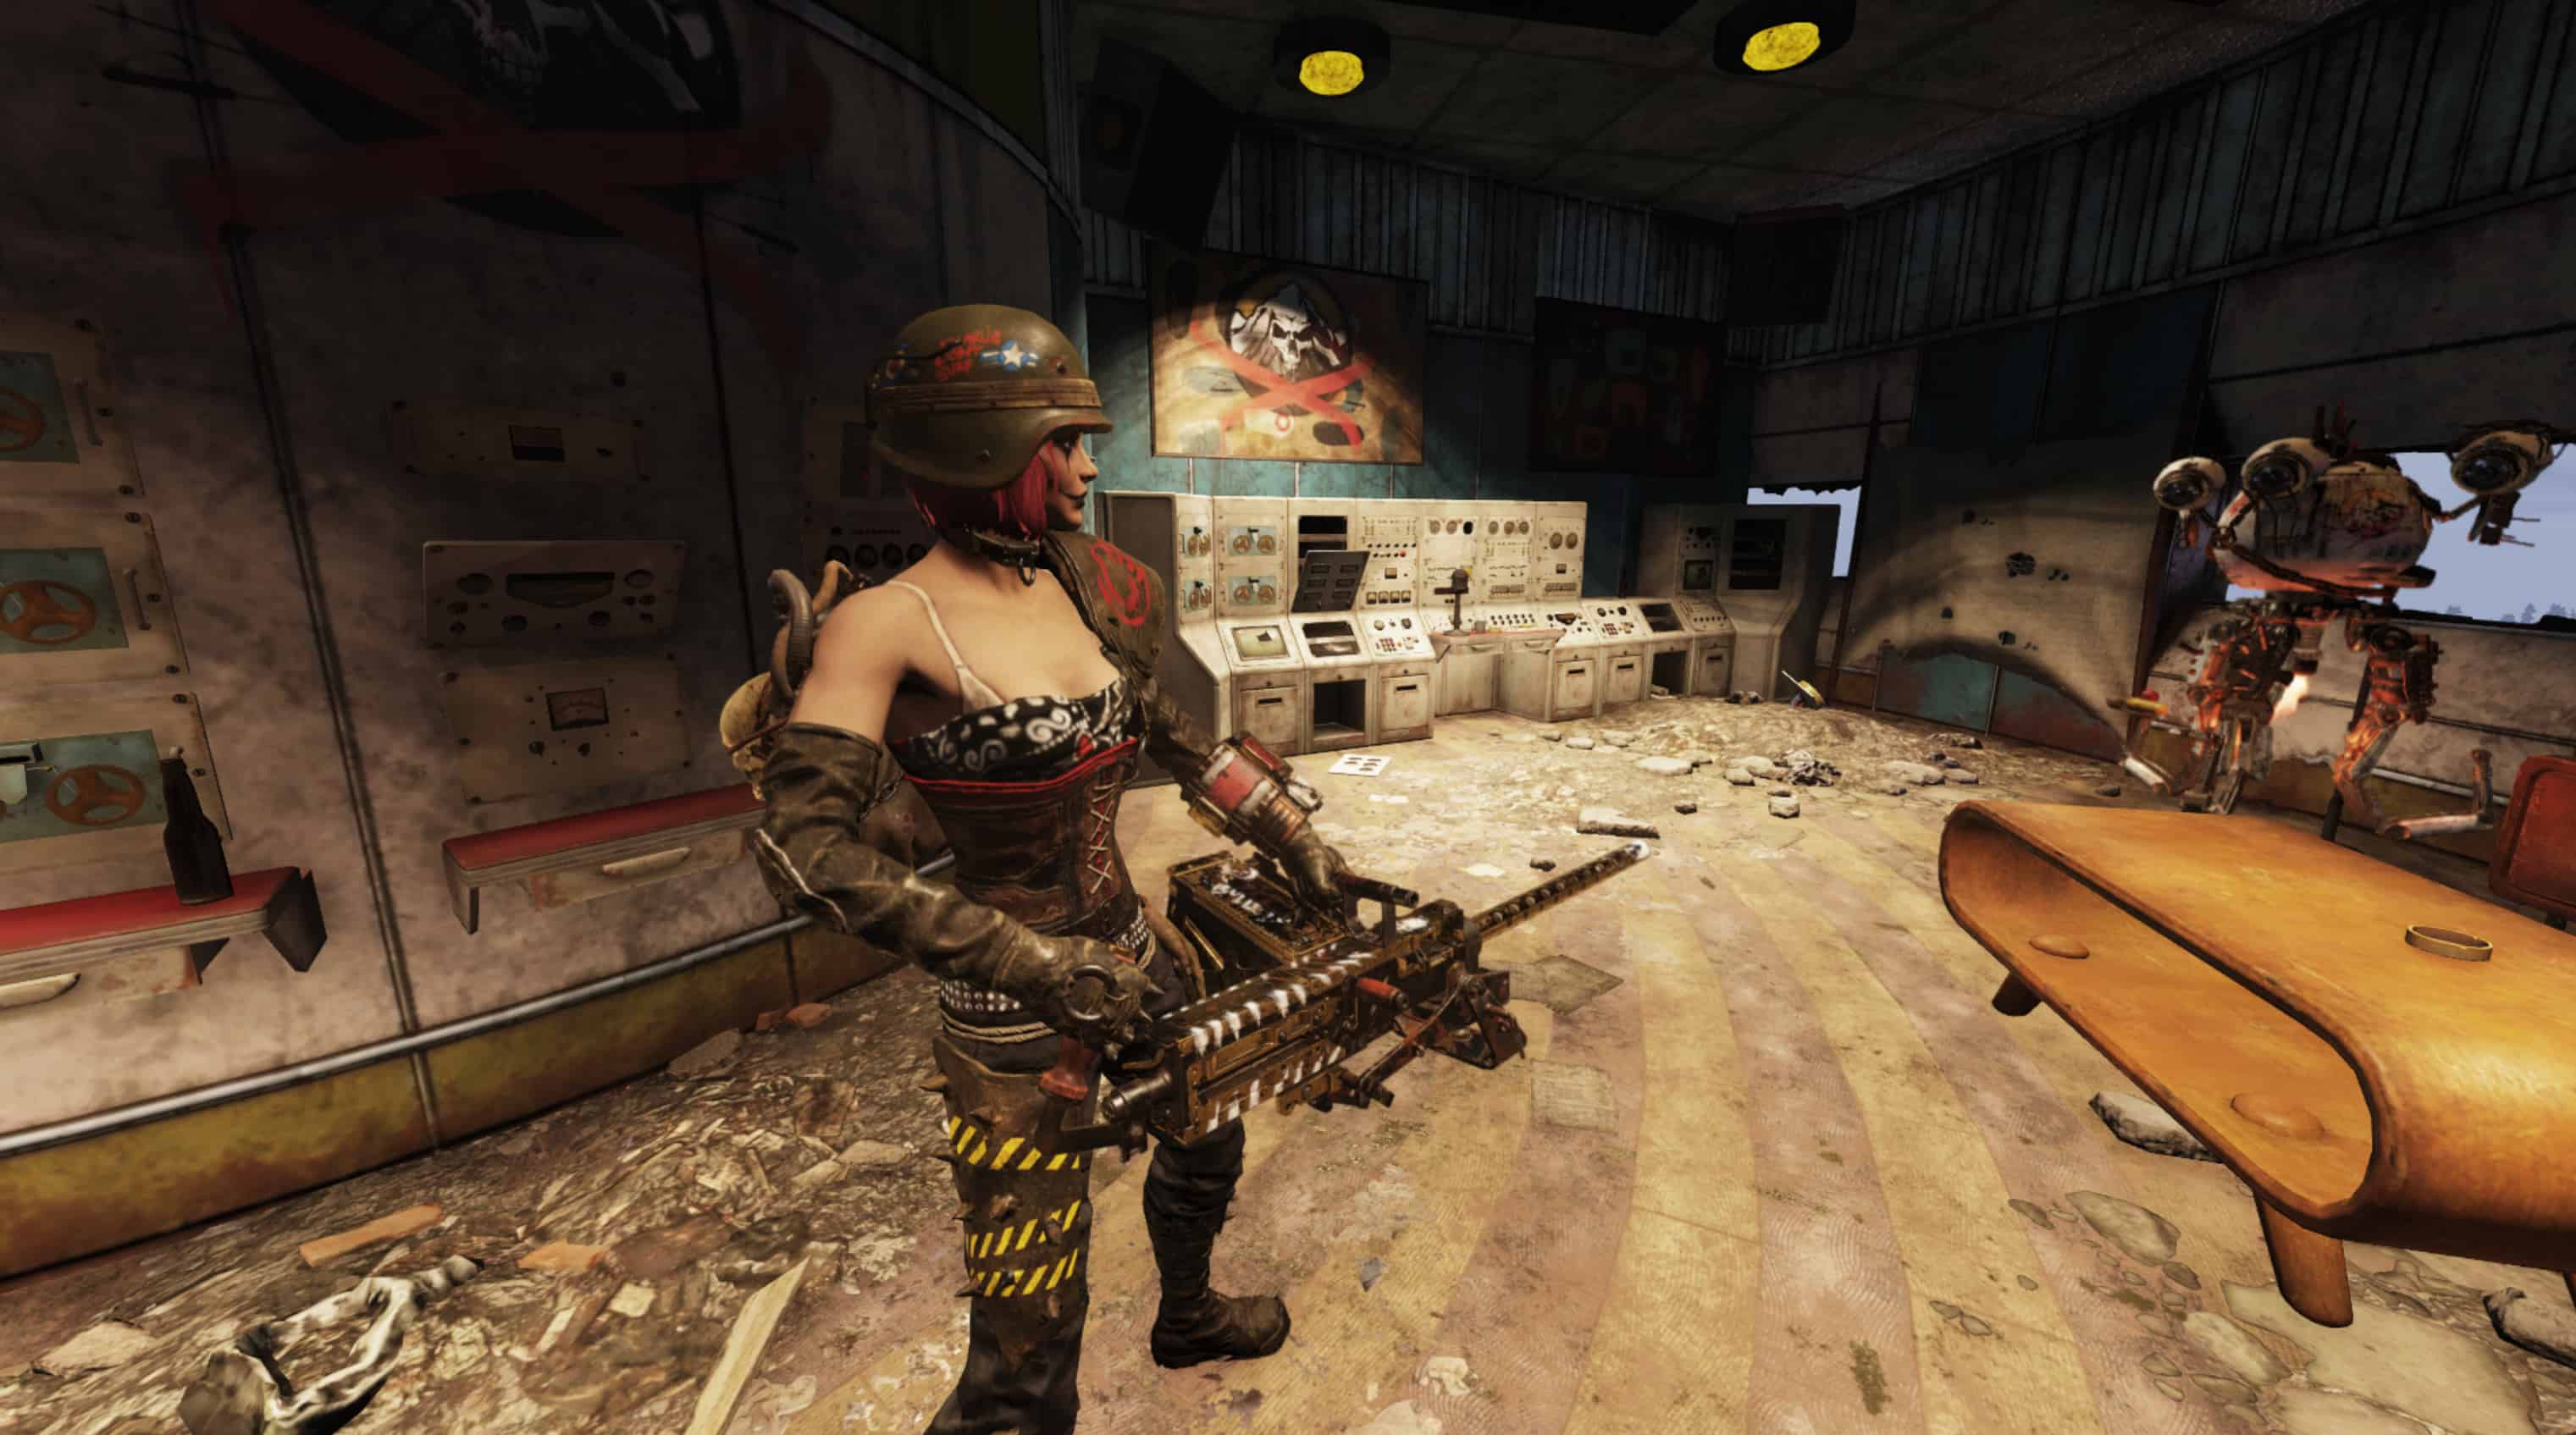
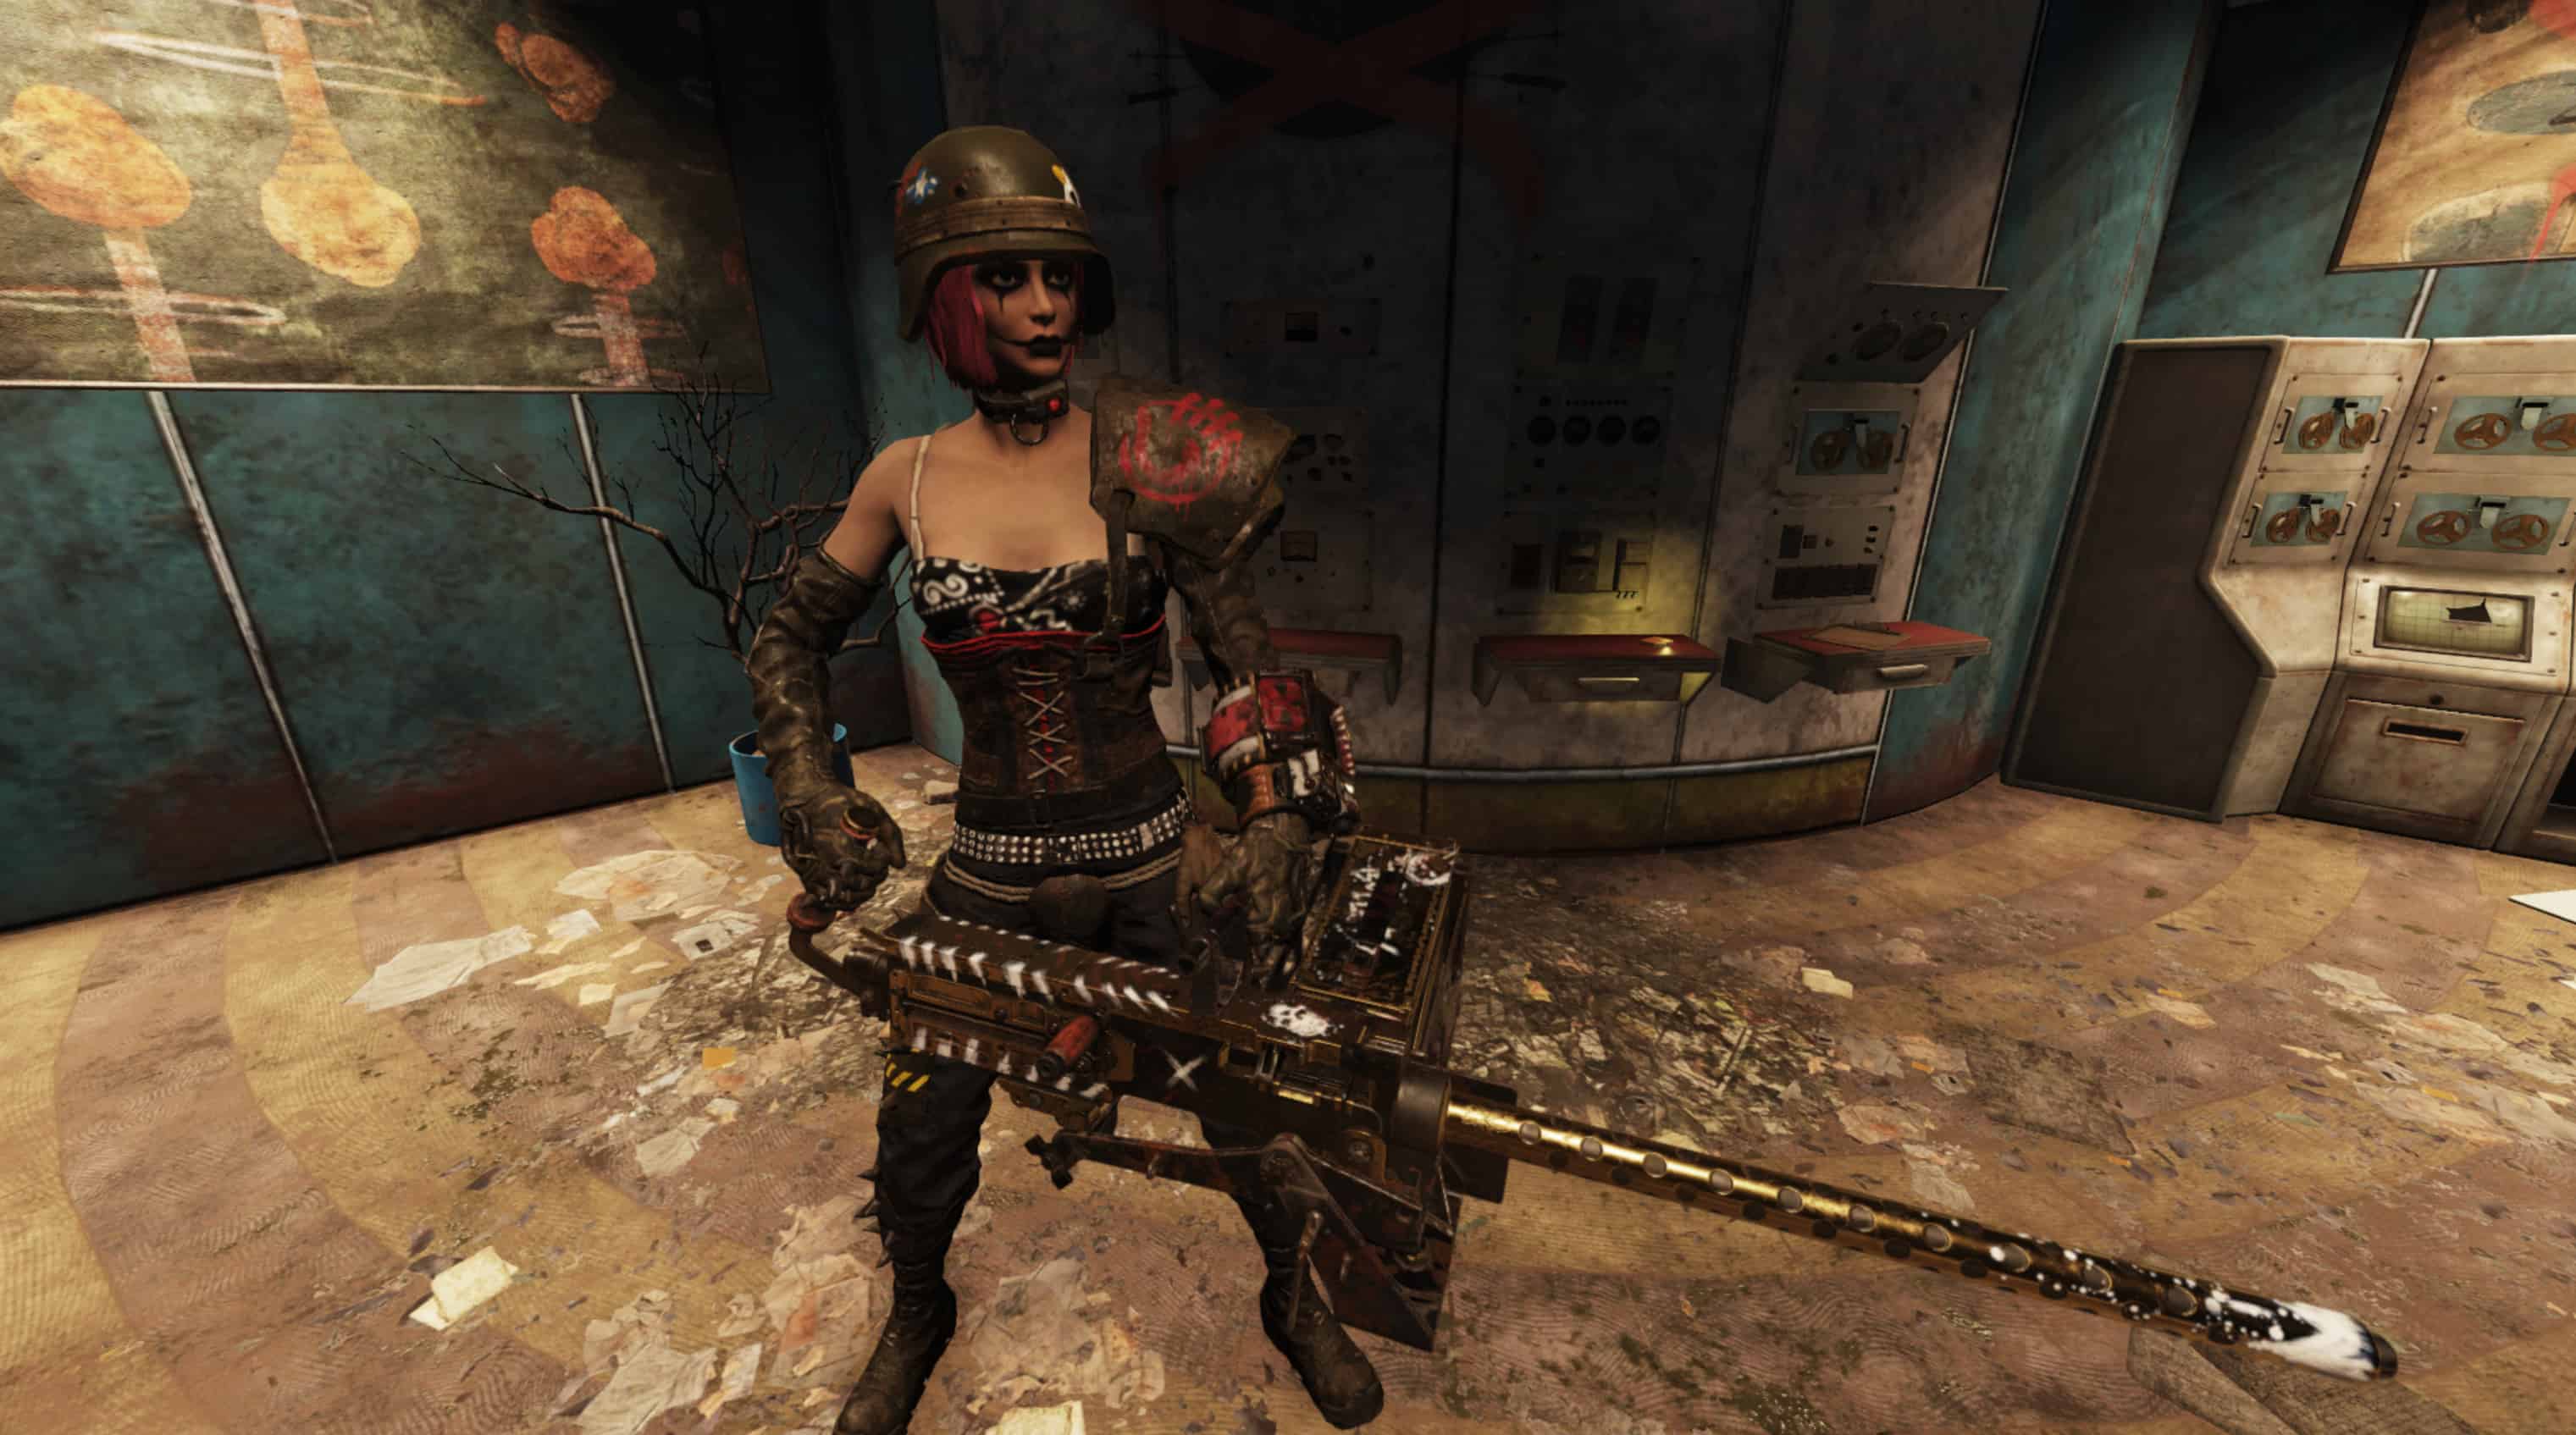
Custom Raider Goon Re-texture and Tank Girl Army Helmet
Re-texture mod for the Raider Goon armor and Army helmet.
Army Helmet and Goon armor are separate so you can choose either one or both.
For the Army Helmet I made three different .ba2 files. There is “Army Helmet” and “Dirty Army Helmet” variants.
you can choose to replace either one or both. Just choose one of them.
Personally I like replacing Dirty variant of the helmet since it’s bit more rare, and I assume most people wear clean version.
Installation
1. Place .ba2 files in Fallout 76’s Data folder.
2. Create Fallout76Custom.ini under Documents/My Games/Fallout 76
3. Open Fallout76Custom.ini and add this line below and save the change.